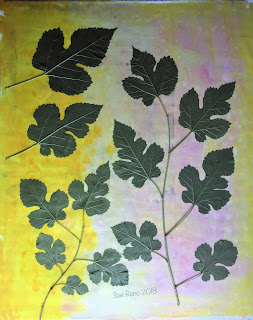
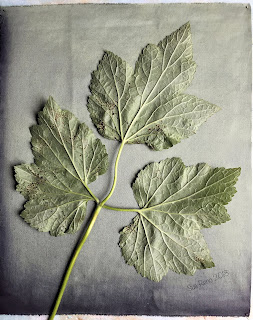
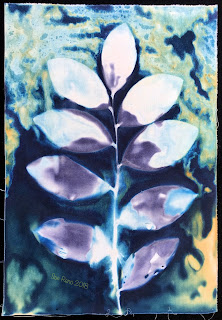
I was working in the garden, weeding and spreading mulch, when I spotted an interloper in the arborvitae hedge. A white mulberry tree sapling had grown surreptitiously in the midst of it for some time before making a break for better sunlight at the top. I have a fondness for these non-native trees; they are connected to the colonial silk trade efforts here, they are colonizers of disturbed ground, and the berries are delicious. However, this one fit the definition of a weed as a plant out of place, so I got the lopers and brought it down.
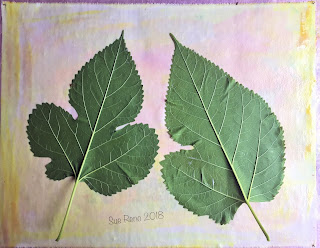
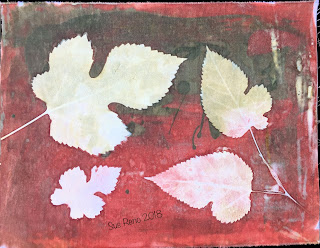
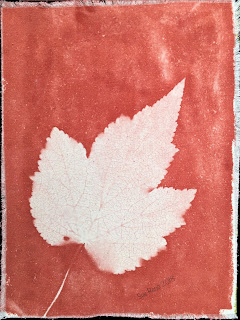
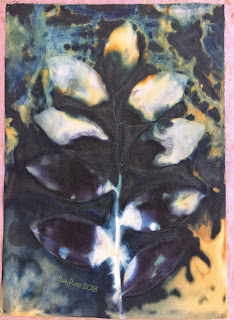
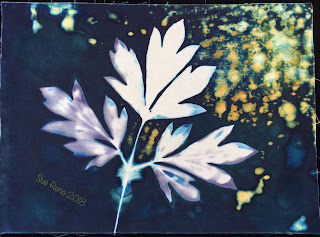
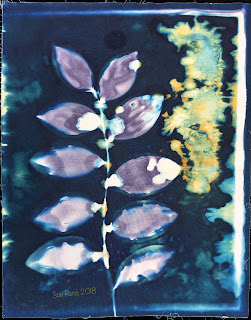
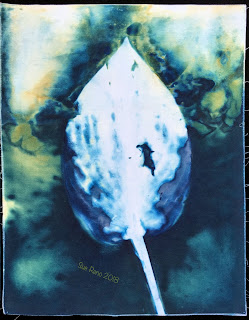
Another thing I enjoy about white mulberries is that the leaves come in three shapes, all mixed on the same branches. There's a plain oval, a mitten, and a double mitten shape, all with lightly serrated edges. I am so delighted by this arrangement I made a White Mulberry quilt years ago that I am still quite proud of. So I seized this opportunity to make some more SolarFast prints. (See previous post here.)
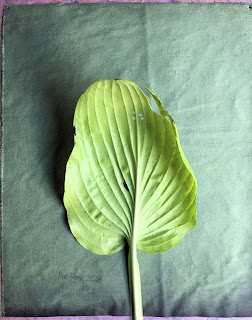
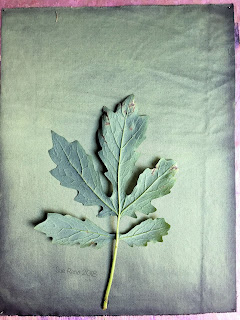
These are all on cotton sateen, which I knew would give sharper definition than the silk noil. For this batch I mixed the colors I had on hand in a improvisational fashion, or you could call it willy-nilly.
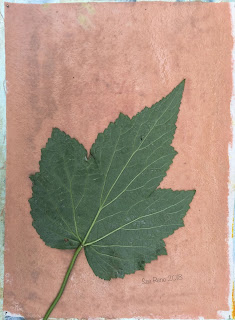
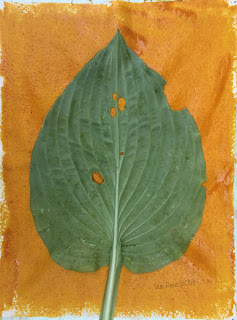
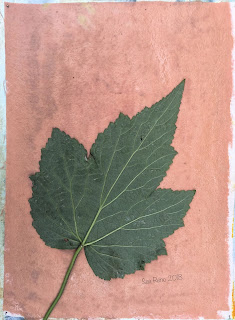
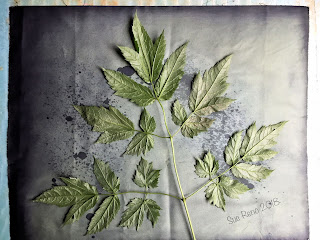
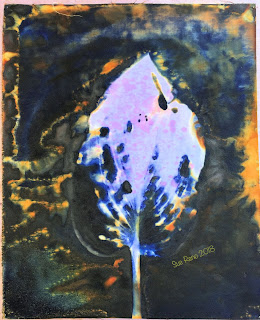
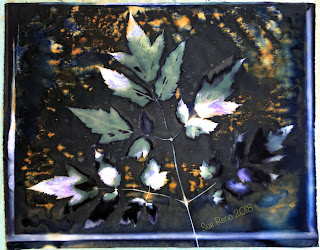
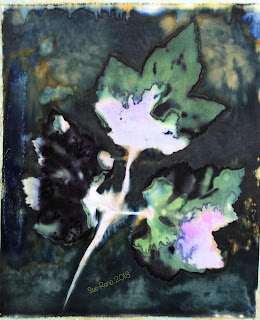
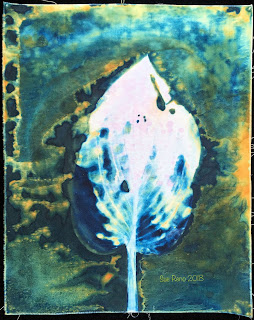
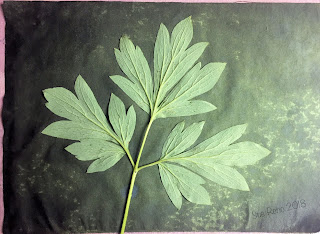
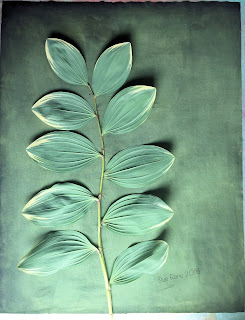
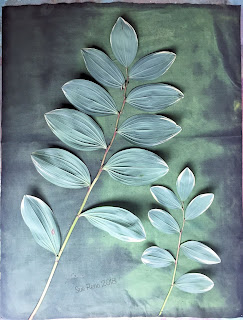
I covered them with glass and put them out in the bright June sunshine. I meant to leave them just a bit longer than the recommended 10-20 minute exposure. But then there was a lot of drama with two cats and an vole, and I took some time to watch a catbird picking and eating my golden raspberries, and then I found a gorgeous garter snake in the vegetable garden, and then there was a little black spider clutching her egg case who had to be relocated. So, with all of that and other various small joys, it was more like 3 hours until I got back to them. With the leaves removed they looked like this:
This one made my heart go pitter-patter.
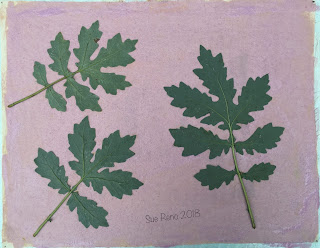
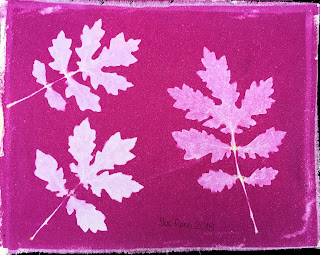
And here they are after the wash-out, dried and ironed. I think they are just gorgeous.
I am really looking forward to stitching on these.
I am calling this experiment a success.
As always, thanks for reading and commenting!
And a reminder that I also post on social media:
Facebook page:http://www.facebook.com/suerenostudio
Twitter feed: http://twitter.com/suereno
Tumblr: http://suerenostudio.tumblr.com
Instagram: https://www.instagram.com/sue_reno_studio/
June 29, 2018
June 28, 2018
Experiments in SolarFast printing - part 1
I was coating some silk noil for cyanotype printing, and I had some extra panels at hand. In the spirit of experimentation, and in an attempt to not hoard art supplies, I made some SolarFast prints. SolarFast is a solar dye product developed and sold by Jacquard Products. I had used it before to make botanical prints, and had used it last to make the colored panels in Luminosity, with transparencies. In both instances I had scrupulously followed directions, exposing the prints for 10-20 minutes. They are fairly easy to time, because the color shifts rather dramatically.
Since I'm blatantly disregarding cyanotype standards in my wet cyan work, I went rogue with these as well. I coated the silk noil with the dye and laid the leaves on the panels, pressing them down to make firm contact. Shown first is a wood poppy leaf with Red SolarFast, next are three leaves on Violet.
Then a Japanese anemone leaf on Burnt Orange.
And a hosta leaf on Green, and yes, it looks orange initially.
I covered the panels with glass, partly to keep the leaves in close contact with the fabric, but also to fend off a bit of intermittent drizzle. Because the day was so overcast, and because I was curious to see what would happen, I left them out to expose for almost two hours, checking occasionally to make sure they didn't look overexposed or dried out.
And here they are are after exposure, in the same order, red, violet, burnt orange, and green.
Here's a closeup of one of the leaves on the violet panel. You can see just a bit of the leaf veining, which is what I was hoping for.
SolarFast prints are finished by washing, in hot water with textile detergent. You need to do a through job of it by hand, or you can use a washing machine, as I did. Here are the finished prints:
I'm pretty happy with the results. There's not a lot of leaf veining detail apparent, but silk noil is very textured, so the fact that any came through is encouraging. This warrants further experimentation.
Full disclosure: I bought my original SolarFast stash in an early iteration when the product had a strong odor. A few years ago a Jacquard rep sent me a few bottles to try of the newer, improved version. Aside from receiving the product I have not been compensated in any way.
As always, thanks for reading and commenting!
And a reminder that I also post on social media:
Facebook page:http://www.facebook.com/suerenostudio
Twitter feed: http://twitter.com/suereno
Tumblr: http://suerenostudio.tumblr.com
Instagram: https://www.instagram.com/sue_reno_studio/
June 25, 2018
Experiments in wet cyanotype - part 23
Welcome to part 23 of my experiments in wet cyanotype. I made these prints on the summer solstice, June 21. It was a great day, nice and sunny, temperatures in the 80s F. I used my standard treated cotton, with a spritz of diluted red textile paint, a spritz of diluted soda ash, and some plain water. Above is a hosta leaf, below is a wood poppy.
I covered them with glass and set them out during the day and brought them in at twilight, as there was rain in the forecast. On this long and lovely day it was plenty of exposure.
Above is a compound leaf from a snakeroot plant, below is a Japanese anemone.
The wet cyan gods were smiling on me, and I could tell right away this was going to be a good batch. The early breakdown on the wood poppy print was spectacular.
Here are the finished, un-rinsed prints. They are looking good! I love it when I get that orange color.
Oh yes.
Here are the finished prints, all winners!
There's so much going on here.
As wonderful as these are on their own, I ultimately want to use my prints in my art quilts. I'm going to have to come with a concept and a design worthy of these.
I published my first "Experiments" post on the summers solstice in 2017, so I've done 23 batches of these in a about a year. I'm up to Image 384, so at approximately 3 images per print, with a few extra process photos here and there, I've done about 125 prints.
I've made two quilts from them, Storm Watch and Heat Lightning, and have two more in the works. I've stitched up a small quilt, Halcyon Days, as a donation for the SAQA Benefit Auction, and mounted some smaller ones to sell when I give lectures. I've published a magazine article on the process. I've made prints in every season, in all kinds of weather, including snow. I thought this would be a summer fling, but it's turned into much more. I've especially enjoyed sharing my process and results on social media as I go along, and seeing what other artists do as they experiment with the process.. Thanks to everyone for your interest and support.
Here's where else you can find me:
Facebook page:http://www.facebook.com/suerenostudio
Twitter feed: http://twitter.com/suereno
Tumblr: http://suerenostudio.tumblr.com
Instagram: https://www.instagram.com/sue_reno_studio/
June 24, 2018
Experiments in wet cyanotype - part 22
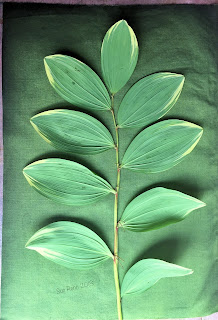
Here we are again with prints from the beginning of June, during a nice stretch of sunny, pleasant weather where I had the time and inclination to make wet cyanotype prints. I had coated cotton sateen and left it in a dark room to dry, but when I was ready to print is was still a bit damp--not wet, exactly, but not dry. I had tried printing on freshly coated wet fabric last year, and was ambivalent about it, but thought this state of affairs was worth an experiment. That's a bleeding heart leaf above and a variegated Solomon's seal sprig below.
Since I was trying something new I left out the pink textile paint and went for straight water spray, with just a touch of soda ash waster around the edges. More Solomon's seal below:
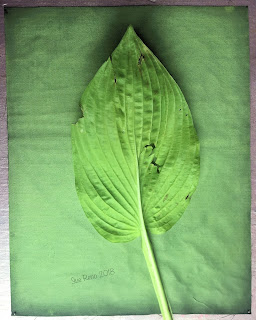
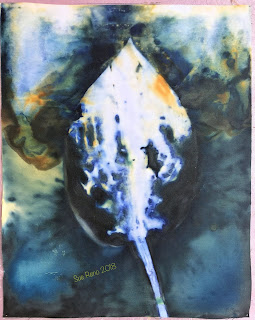
And a hosta--I've got lots of hostas growing!
And a huge bed of Solomon's seal that has grown from one plant long ago.
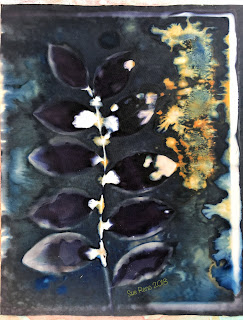
I left them out about 24 hours. Here are the un-rinsed prints. They look very encouraging at this stage. Lots of fireworks on the right on the bleeding heart print:
There was some puddling/washout on these, but nothing major.
These two look pretty and soft at this point.
Here are the finished prints. I think there is a subtle difference between these and ones done on dried treated fabric.
But then they are different every time, as there are so many variables.
These last two, the hosta above and the Solomon's seal below, are definitely different from anything I've done before. They manage to combine a dreamy look with high contrast. This is worth trying again.
As always, thanks for reading and commenting!
And a reminder that I also post on social media:
Facebook page:http://www.facebook.com/suerenostudio
Twitter feed: http://twitter.com/suereno
Tumblr: http://suerenostudio.tumblr.com
Instagram: https://www.instagram.com/sue_reno_studio/
Subscribe to:
Posts (Atom)


