August 31, 2017

Experiments in wet cyanotype - part 11

Wet Cyanotype_Sue Reno_Image 152
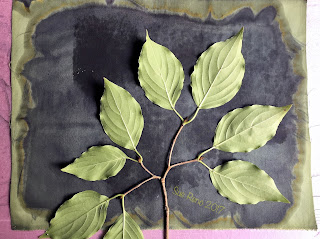
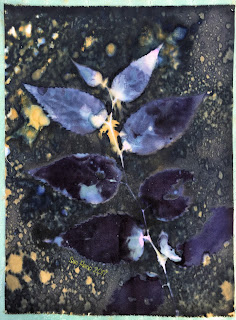
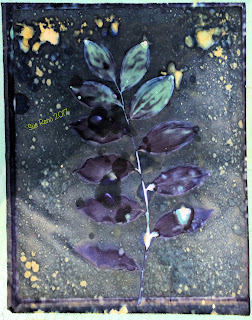
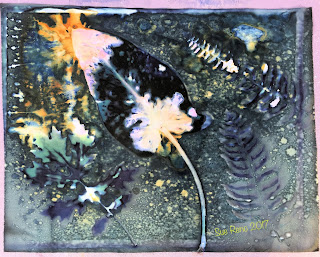
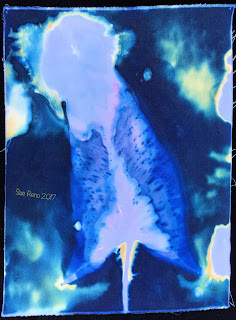
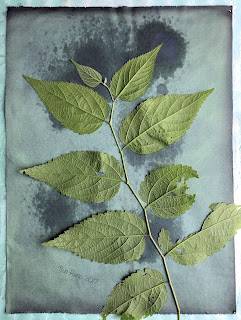
Summer's not over yet, and I'm still cooking up wet cyanotype prints. They turn out different every time because there are so many variables, including the moisture in the plants, the heat and humidity of the weather, and the length of exposure. This round I started with a hackberry tree twig. I have several of them growing wild along the edge of my yard. They are somewhat underappreciated in the landscape, are prone to leaf galls, and send up countless hard-to-dig shoots in the flower beds, but I am still grateful for them. They are beneficial to a variety of wildlife.

Years ago I nearly drove off the road when I spotted plume poppies growing in someone's yard. Pre-internet, it took a bit of research to figure out what they were, but I obtained some and they seem like a gift each and every year. They are tall and majestic and architectural in structure. They are notorious for spreading, but I have heavy clay soil so they just pop up in interesting places now and again.
Wet Cyanotype_Sue Reno_Image 153
Here's my Plume Poppy quilt from 2010, 81" x 74": 
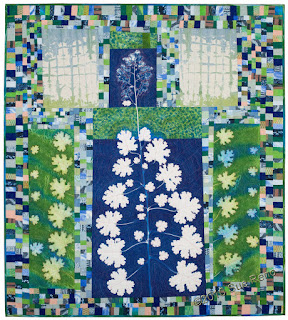
Plume Poppy by Sue Reno

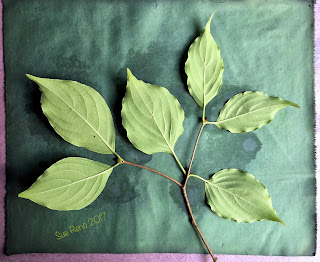
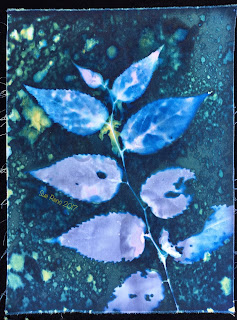
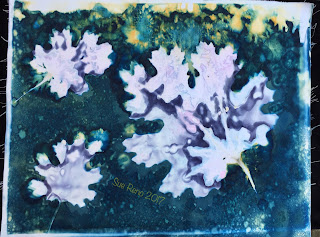
I also printed some twigs from my kousa dogwood trees. I've been making prints in various formats from them for years, and will assemble into an art quilt at some point.
Wet Cyanotype_Sue Reno_Image 154
I followed the same format this time as in part 10, with diluted Dye-na-flow and washing soda added to tint and enhance the prints. You can read about all my experiments to date by clicking the Wet Cyanotype tab in the upper header.
Wet Cyanotype_Sue Reno_Image 155
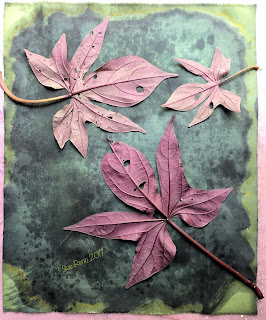
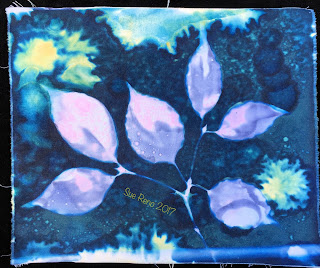
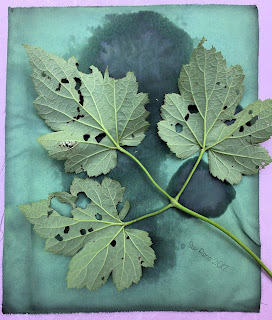
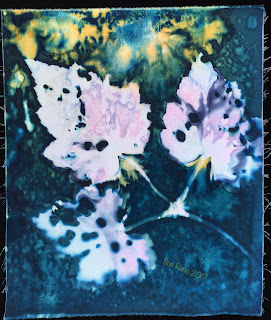
Here's some interesting, insect damaged leaves from an ornamental sweet potato:
Wet Cyanotype_Sue Reno_Image 156
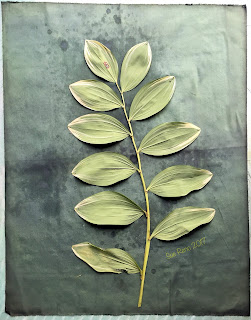
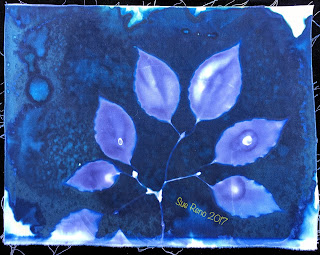
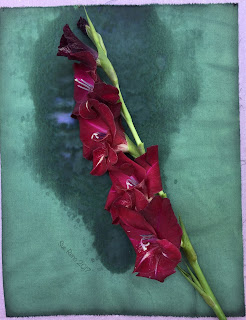
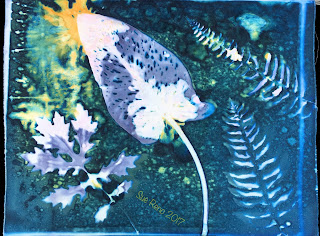
I rounded out the batch with a stalk of variegated Solomon's seal:
Wet Cyanotype_Sue Reno_Image 157
The day started out sunny but then the clouds rolled in, so I left the prints out overnight and caught a bit of morning sunshine before bringing them in to dry off in the dark. It looks like I have another moody batch on my hands:
Wet Cyanotype_Sue Reno_Image 158

Wet Cyanotype_Sue Reno_Image 159

Wet Cyanotype_Sue Reno_Image 160

There was a lot of great mottling and explosive effects around the edges:
Wet Cyanotype_Sue Reno_Image 161

Wet Cyanotype_Sue Reno_Image 162

Wet Cyanotype_Sue Reno_Image 163
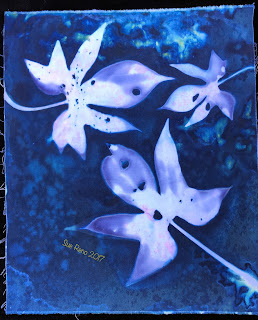
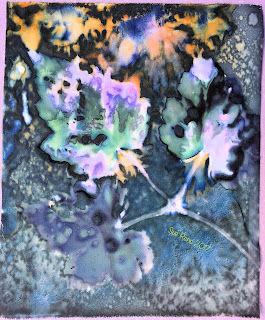
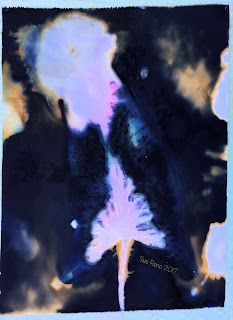
Here are the rinsed, dried, and ironed finished prints, starting with the hackberry:

Wet Cyanotype_Sue Reno_Image 164

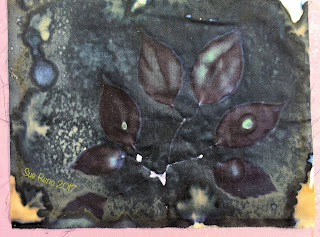
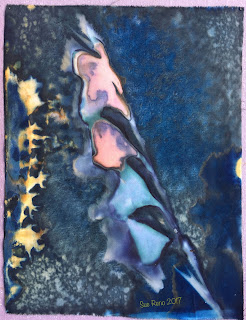
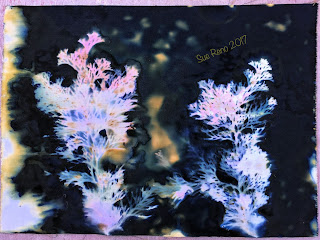
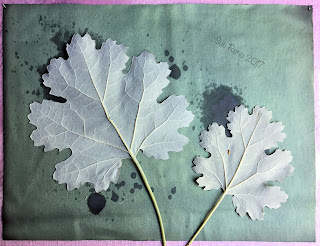
The plume poppy:
Wet Cyanotype_Sue Reno_Image 165


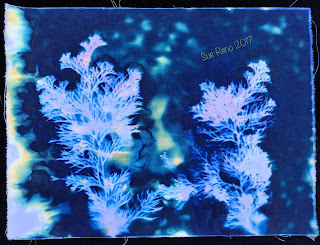
Wet Cyanotype_Sue Reno_Image 166


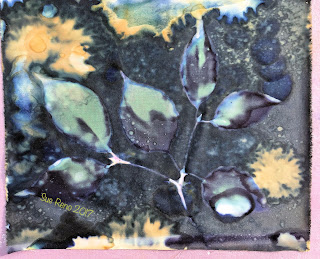
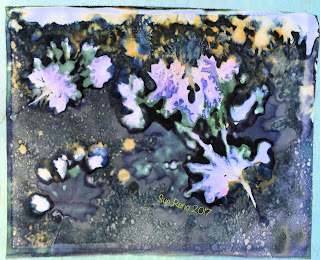
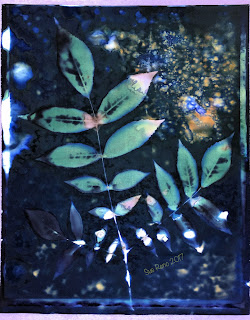
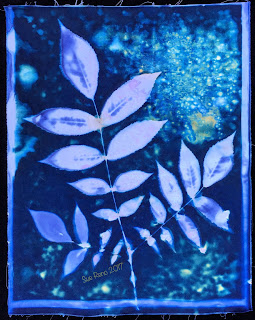
 Two kousa dogwood prints, above and below:
Wet Cyanotype_Sue Reno_Image 167
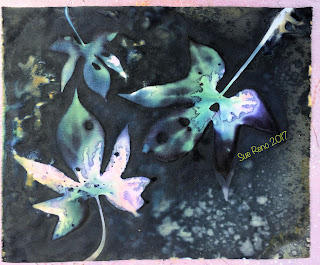
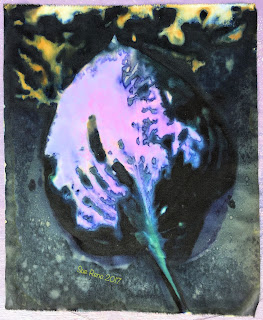
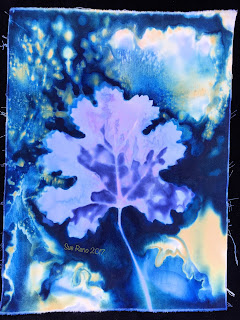
 The ornamental sweet potato:
Wet Cyanotype_Sue Reno_Image 168
 And last but not least the Solomon's seal:
Wet Cyanotype_Sue Reno_Image 169

I'm very satisfied with this batch of prints. I am closing in on producing prints with this technique that are not just fun and novel, but also have a degree of sophistication. I'm getting closer to capturing the intent of all my work, to show a deep degree of familiarity with my subject matter. There really is no substitute for doing the work.
August 29, 2017

Experiments in wet cyanotype - part 10

Wet Cyanotype_Sue Reno_Image 137
I'm been working furiously to capture the last images of summer, while also greatly looking forward to autumn. This time of year is great for appreciating the insect damage on leaves, like these Japanese anemones, above. I'm also enjoying the last of the gladiolus, below.
Wet Cyanotype_Sue Reno_Image 138
For this batch of wet cyanotype prints, I continued to use a spritz of diluted Dye-na-flow textile paint on the foam board under the fabric. I also mixed it up a bit by using a light spray of diluted washing soda around the edges, after laying on the leaves. It changes the pH and breaks down the chemicals to add more mottling.
Wet Cyanotype_Sue Reno_Image 139
I never tire of plume poppy leaves, above, and hostas, below.
Wet Cyanotype_Sue Reno_Image 140
If you are new here, I am documenting my experiments with the wet cyanotype process, including the many successes and the handful of failures. You can view all the posts in reverse chronological order by clicking on the Wet Cyanotype tab in the top header.

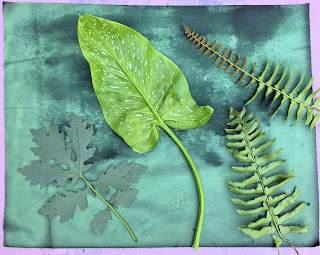
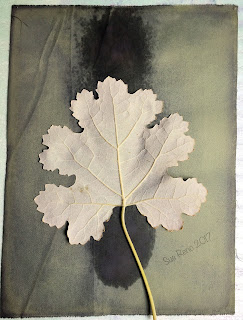
I rounded out this batch with a melange of a wood poppy leaf, a calla leaf, and some Christmas fern fronds.
Wet Cyanotype_Sue Reno_Image 141
My previous exposure local was getting more shaded as the season progresses, so I set these in a different spot that gets continual sun. It was a hot sunny day, with moderate humidity. After a ten hour day I declared these done and brought them in to dry before rinsing.
Wet Cyanotype_Sue Reno_Image 142
The washing soda effect was dramatic on some of them. And the paint colored in the gladiolus nicely.
Wet Cyanotype_Sue Reno_Image 143
There's so much going on here!
Wet Cyanotype_Sue Reno_Image 144

Wet Cyanotype_Sue Reno_Image 145
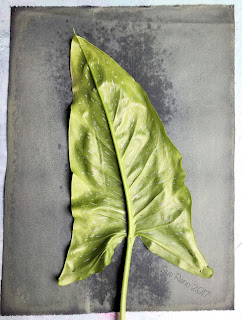
After a somewhat disappointing try with a calla leaf in the last batch, I was especially happy with the first look at this one:
Wet Cyanotype_Sue Reno_Image 146

Here are the finished prints. It looks like fireworks, or some sort of outrageous celestial events, are happening in the backgrounds:
Wet Cyanotype_Sue Reno_Image 147
The dynamic tension in this one is intense:
Wet Cyanotype_Sue Reno_Image 148
The interior of the plume poppy leaves often tend towards purple tones with this technique:
Wet Cyanotype_Sue Reno_Image 149
I captured lots of veining with this hosta leaf:
Wet Cyanotype_Sue Reno_Image 150
I am very chuffed about this one:
Wet Cyanotype_Sue Reno_Image 151
All in all, a good day and a good batch of prints.

Stay tuned, there's (at least) one more batch on the way. And thanks for reading and commenting.

August 26, 2017

Experiments in wet cyanotype - part 9

Wet Cyanotype_Sue Reno_Image 122
For this round of prints I wanted greater color variegation, so I returned to spraying the foam board with dilute Dye-na-flow textile paint in red shades before laying on the treated cyanotype fabric. I also returned to some perennially favorite subjects in using a plume poppy leaf, above, and a calla lily leaf, below.
Wet Cyanotype_Sue Reno_Image 123
I also experimented with spraying just a bit of strongly diluted washing soda water around the perimeter of the prints, just before adding the glass cover, with the intention of breaking down the chemistry to get more colorization.
Wet Cyanotype_Sue Reno_Image 124
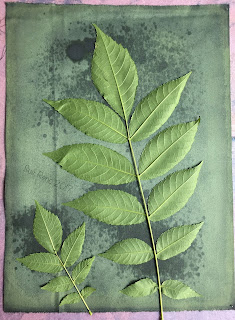
I found a volunteer sumac shrub sprouting in one of my flower beds, and put the pruned shoots to good use.
Wet Cyanotype_Sue Reno_Image 125
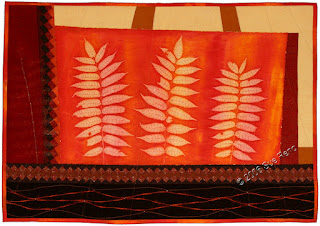
I worked with sumac years ago, in a heliographic paint print that I made into an autumnal colored quilt:
Sumac, by Sue Reno
Sumac by Sue Reno
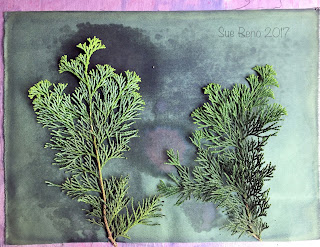
To round out the batch, I chose some sprigs from my Hinoki cypress trees. I haven't generally worked with evergreens previously, because in traditional cyanotype I found it difficult to capture a satisfactory level of detail, so I was happy to shed that prejudice in this experiment.
Wet Cyanotype_Sue Reno_Image 126
Here are the prints after about 24 hours exposure, with daytime temps in the 80s F, moderate humidity, and intermittent sun. After removing the glass the plant material, I set them aside to dry completely before rinsing. The marks on the plume poppy leaf were looking encouraging.
Wet Cyanotype_Sue Reno_Image 127
The calla lily print was not at all encouraging. Despite being exposed on a presumably flat surface, the leaf structure captured the moisture under the glass and funneled it to the leaf tip, where it washed out all the chemicals in a big white blob.
Wet Cyanotype_Sue Reno_Image 128

Wet Cyanotype_Sue Reno_Image 129
Both sumac prints were looking good.
Wet Cyanotype_Sue Reno_Image 130
As was the cypress; it seemed to have some added marks from the evergreen sap.
Wet Cyanotype_Sue Reno_Image 131
Here are the rinsed, dried, and ironed finished prints.  I'm very, very happy with the plume poppy. (All images enlarge when clicked.)
Wet Cyanotype_Sue Reno_Image 132
I am always happy to experiment and learn, so I can take the failure of this calla leaf print in stride. And few things are irredeemable, so I could add definition with paint and/or stitch and make something out of this. But realistically, I'd rather spend my time with a print that excites me, so this one will probably go in the cutter pile. It will be valuable for adding the right colors and contrasts to patchwork ultimately surrounding other prints in an art quilt.
Wet Cyanotype_Sue Reno_Image 133
Both sumac prints came out well.
Wet Cyanotype_Sue Reno_Image 134
I'm happy with the extra mottling the washing soda added.
Wet Cyanotype_Sue Reno_Image 135
I'm also happy with the delicacy of the cypress print. I'm not sure how I could best add stitching to it, so that gives me something to ponder.
Wet Cyanotype_Sue Reno_Image 136
If you are new here, welcome! After many years of working with traditional cyanotype prints on fabric, I'm having a wonderful summer adventure experimenting with the new-to-me technique of wet cyanotype. I'm documenting everything I'm trying, the successes and the quasi-failures, and the posts can all be accessed in reverse chronological order by clicking on the Wet Cyanotype tab in the top header. You can also follow my adventures on your social media of choice:
Facebook page:http://www.facebook.com/suerenostudio
Twitter feed: http://twitter.com/suereno
Tumblr: http://suerenostudio.tumblr.com
Instagram: https://www.instagram.com/sue_reno_studio/