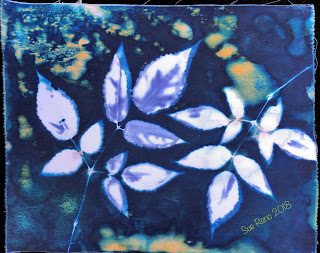
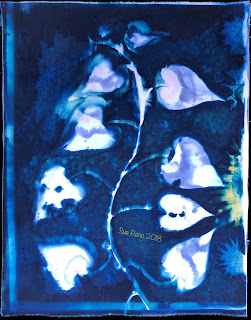
November 21, 2018

Messing around with monoprints

Monoprints_Sue Reno_Image 1
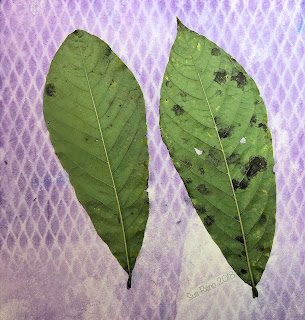
I am on hiatus from making wet cyanotype prints, but I had gathered a wonderful batch of leaves to work with before winter descends. Monoprinting is endlessfully fun and I hadn't done it in a while, so I pulled out the big gelliplate, opened some new bottles of textile paint and had a printmaking session.
Monoprints_Sue Reno_Image 2
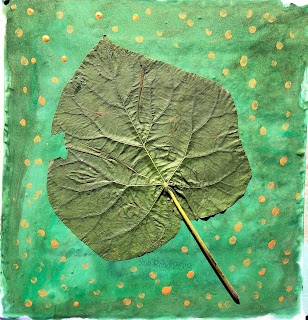
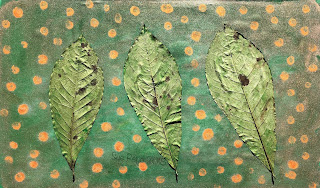
I was working with royal paulownia leaves, which I love because they are huge, and pawpaw leaves, which I also love because they are huge. I used a mix of white pfd (prepared for dyeing, free of fabric finishes) cotton sateen and fabric I had previously painted or printed in some way.
Monoprints_Sue Reno_Image 3
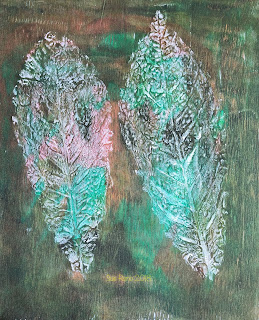
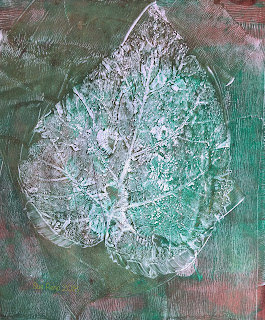
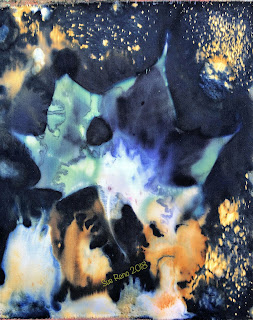
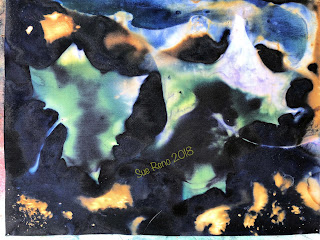
In no particular order, here's a selection of the prints I made.
Monoprints_Sue Reno_Image 4

Monoprints_Sue Reno_Image 5
I did positive prints by painting the plate, pressing the leaves on it pick up the paint, then pressing the leaves on the fabric. I also did negative prints, using fabric to pick up the impressions and paint left on the plate. Basically, I just messed around.
Monoprints_Sue Reno_Image 6
It's hard to go wrong, because any print that's a dud, and those are few, can always be cut up for patchwork.
Monoprints_Sue Reno_Image 7
I was making these just because I could; I don't have a particular project in mind for them.
Monoprints_Sue Reno_Image 8

Monoprints_Sue Reno_Image 9
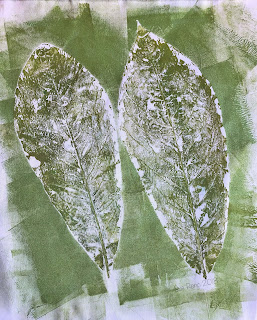
I also had some royal paulownia leaves that were too big for the gelliplate, so I made heliographic prints. The basic process is to coat the fabric with diluted paint, cover with the leaf, and put in in the sun to dry. The paint wicks out from under the leaf and forms an imprint.
Monoprints_Sue Reno_Image 10

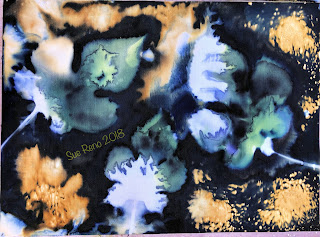
Here's an example, my White Mulberry, where the center image is a heliographic print.
 Here's a detail image from Groundhog and Green Bean:
And the mustard plant from Skunk and Garlic Mustard:
For these prints, I added lots of gold polka dots:
Monoprints_Sue Reno_Image 11

The sun was too weak to produce a clean white print, but I love the nuance in this one:
Monoprints_Sue Reno_Image 12
And the pawpaw heliographic print has good edge definition. Stitching to add leaf veining will really make it pop.
Monoprints_Sue Reno_Image 13
I haven't promoted this in a long time, but my Quilting Arts instructional video, Surface Design Essentials for the Printed Quilt, is still available for download. It covers heliographic printing and a whole lot more, is clear, concise and easy to follow, and you can't beat the price. Available here, treat yourself!

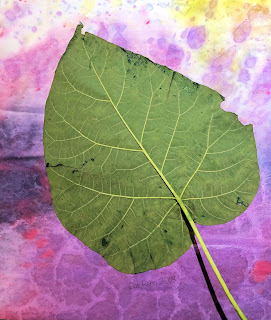
November 17, 2018

Experiments in wet cyanotype - part 33

Wet Cyanotyoe_Sue Reno_Image 531
 Welcome to part 33 of my ongoing experiments with the wet cyanotype process on fabric. I made this batch of prints on the last  two days of October. Conditions here in Pennsylvania were very pleasant, with temperatures in the mid 60s (F) and plenty of sunshine.
Wet Cyanotyoe_Sue Reno_Image 532
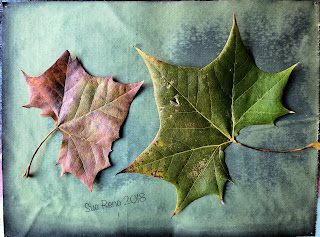
 I collected some fallen sycamore leaves on a walk in the woods.
Wet Cyanotyoe_Sue Reno_Image 533
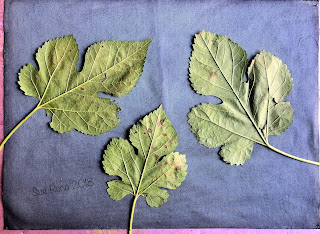
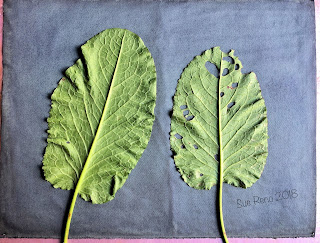
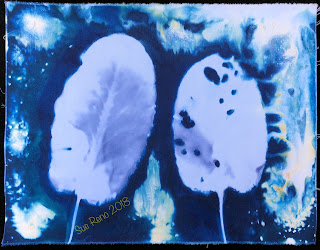
 I also collected some white mulberry leaves, and some burdock leaves, one of which was satisfyingly ridden with holes. All were set to expose on treated cotton sateen and covered with glass.
Wet Cyanotyoe_Sue Reno_Image 534
 There was enough sun, and heat to push a good reaction, especially for this time of year.
Wet Cyanotyoe_Sue Reno_Image 535
 The days are shorter now, so I left them to expose for a full 24 hours.
Wet Cyanotyoe_Sue Reno_Image 536
 These finished but unrinsed prints are full of promise.
Wet Cyanotyoe_Sue Reno_Image 537

Wet Cyanotyoe_Sue Reno_Image 538
 Here are the finished prints.
Wet Cyanotyoe_Sue Reno_Image 539
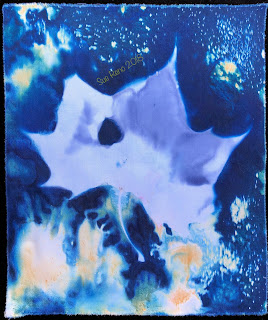
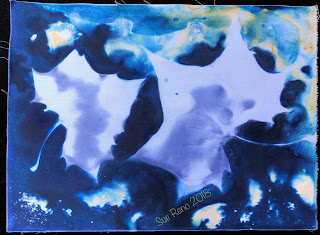
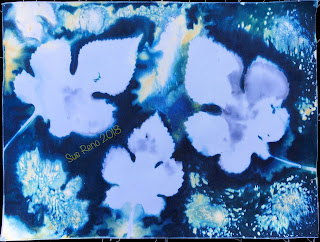
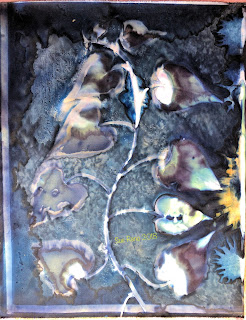
 I'm very happy with the tones of the leaf areas, and even more so with the cool breakdowns all around them.
Wet Cyanotyoe_Sue Reno_Image 540

Wet Cyanotyoe_Sue Reno_Image 541
 The weather has since taken a distinct turn towards more wintry conditions. I have some leaves preserved with glycerin that I may or may not be tempted to mess with at some point. I will let serendipity be my guide--I had a great printing season this year and am somewhat content.
Wet Cyanotyoe_Sue Reno_Image 542

 If you are new here, welcome! For the past year and a half I've been documenting my experiments with the wet cyanotype process. You can access all the information by clicking on the Wet Cyan tab in the top header, or click here.

And a reminder that you can also follow along on your social media of choice:

Facebook page:http://www.facebook.com/suerenostudio
Twitter feed: http://twitter.com/suereno
Tumblr: http://suerenostudio.tumblr.com
Instagram: https://www.instagram.com/sue_reno_studio/

November 2, 2018

Experiments in wet cyanotype - part 32

Wet cyanotype_Sue Reno_Image 516
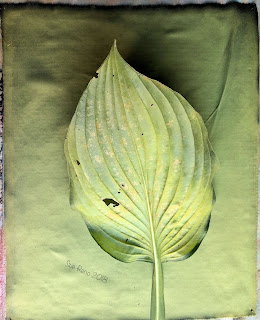
 There were a few warm, sunny days in the tail end of October, and I took advantage of them to make some more wet cyanotype prints. I had resupplied myself with my favorite cotton sateen, and treated some panels with the cyanotype chemicals in the usual way and let them dry. I began with a hosta leaf, showing the first signs of autumnal decay.
Wet cyanotype_Sue Reno_Image 517
 And followed with my usual stalward, a plume poppy leaf. Next were some goat's beard leaves, Aruncus dioicus.
Wet cyanotype_Sue Reno_Image 518
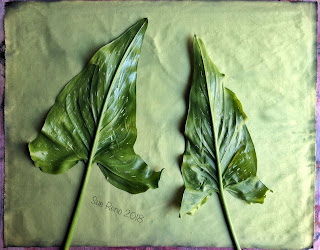
 I finished the batch with some calla lily leaves, also approaching the end of the yearly cycle,
Wet cyanotype_Sue Reno_Image 519
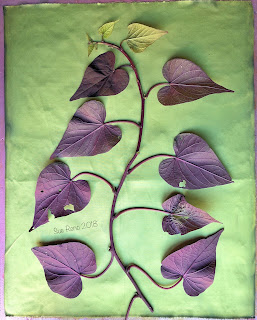
 and a bit of ornamental sweet potato vine.
Wet cyanotype_Sue Reno_Image 520
 The sun was warm, but the days are shorter now, so I left these out for a about 27 hours to catch two days worth of rays.
Wet cyanotype_Sue Reno_Image 521
 This seemed to be a good strategy, as I got a lot more movement and colors shifts than I typically do this time of year.
Wet cyanotype_Sue Reno_Image 522
 These exposed, unwashed prints are gorgeous!
Wet cyanotype_Sue Reno_Image 523

Wet cyanotype_Sue Reno_Image 524
 Lots of promise in these. I removed the leaves and let them dry overnight in the dark before rinsing.
Wet cyanotype_Sue Reno_Image 525
 Here are the finished prints. This is a very good batch by my preferred standards.
Wet cyanotype_Sue Reno_Image 526
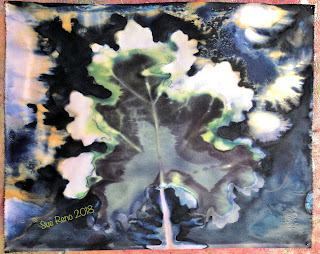
 This hosta leaf print is magnificent.
Wet cyanotype_Sue Reno_Image 527
 I love when I get those streaky orange and yellow bits.
Wet cyanotype_Sue Reno_Image 528
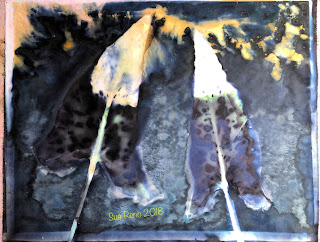
 All of these are destined for stitching and inclusion in a larger project. The spots on the calla leaves will be a real pleasure to stitch.
Wet cyanotype_Sue Reno_Image 529
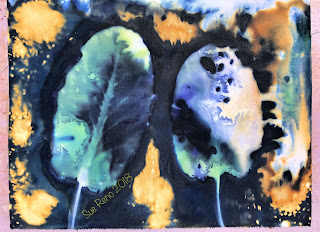
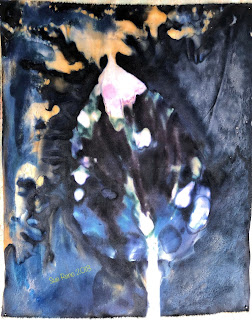
 This is the darkest and most mysterious of the batch. Stitching will really make it pop.
Wet cyanotype_Sue Reno_Image 530

If you are new here, welcome! For the past year and a half I've been documenting my experiments with the wet cyanotype process. You can access all the information by clicking on the Wet Cyan tab in the top header, or click here.

And a reminder that you can also follow along on your social media of choice:

Facebook page:http://www.facebook.com/suerenostudio
Twitter feed: http://twitter.com/suereno
Tumblr: http://suerenostudio.tumblr.com
Instagram: https://www.instagram.com/sue_reno_studio/